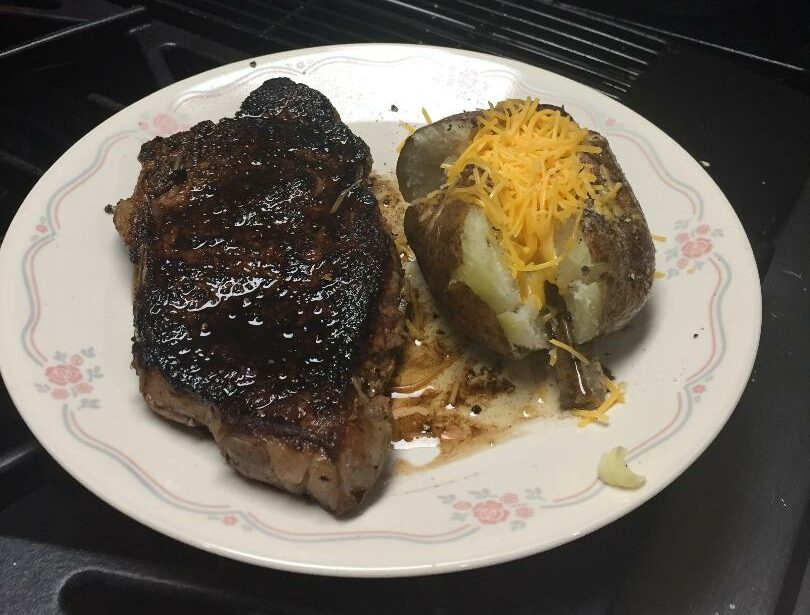
I’ve never been a steak lover, but I’ve had a few really good steaks in my life. My husband, on the other hand, loves steak. And he said the best steak he ever had was the one my son-in-law seared and let him try. So I’ve decided I want to learn how to sear a steak.
Searing is a technique in which you cook your meat at high heat for a short amount of time to caramelize or char the meat’s surface. A common myth is searing seals in the juices, but that is not true and not the purpose of searing.
This article will explain why you would want to sear your meat and nine rules to keep in mind. I will conclude by sharing step by step my first experience of searing a steak.
I am a participant in the Amazon Services LLC Associates Program. If you make a purchase using the links in my articles, I receive a small commission.
Table of Contents
Why Sear Your Meat
The purpose of searing is to create flavor and texture. When you caramelize or char the surface of your steak, it will add a brown crust that tastes delicious.
Rule #1 Do Not Use Cold Meat
An hour before you start cooking, get the steak to room temperature. If you use cold meat, you will have to cook your steak longer to get the center done. And it will be less juicy. Cooking longer is the enemy of successful searing.
Rule #2 Blot Off Excess Moisture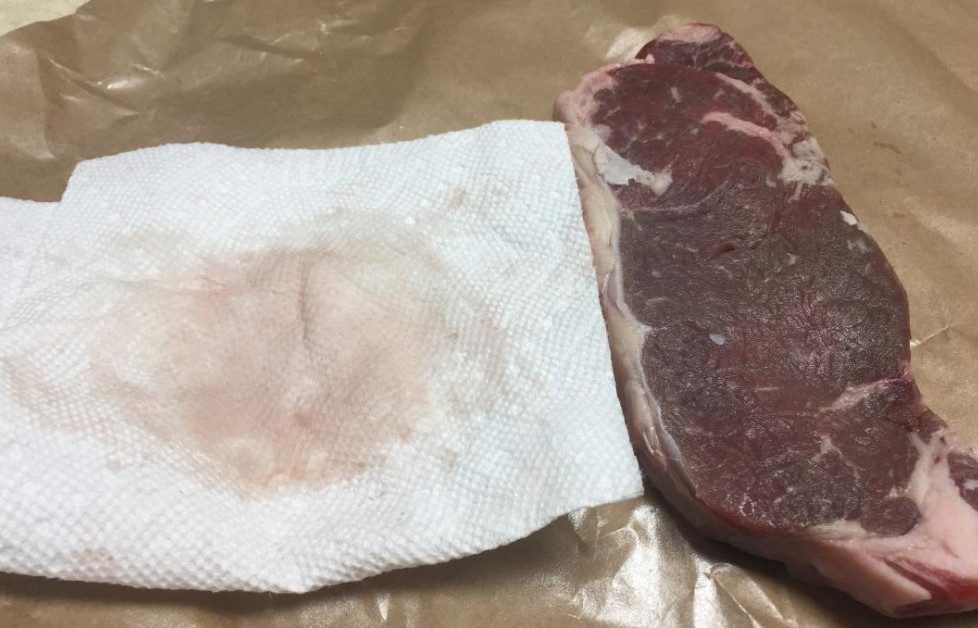
You want to use a paper towel to get off any moisture to shorten the cooking time. Any moisture must first evaporate when the steak hits the surface of the pan before the browning or caramelizing can begin. And remember you want to sear as quickly as possible.
Even if your steak doesn’t look wet, you will see that it has more moisture than you realized when you blot it with a paper towel.
Rule #3 Get Your Pan Nice and Hot
Heat your pan over medium-high heat first. It can take anywhere from 5-8 minutes. When you see a wisp of smoke rising from the skillet, it’s time to add the oil.
The consensus seems to be that cast iron is the best type of pan for searing because:
- it heats up slowly but retains its heat well
- cast iron handles high heat exceptionally well
- it’s naturally nonstick
- the material gives a better sear than other types of cookware
Rule #4 Use the Right Size Skillet
To avoid burned steak juices at the bottom of your pan, don’t use a huge skillet for a single steak. On the other hand, you also don’t want to overcrowd your steak. Crowding may cause your steak to steam instead of sear, as well as cook unevenly. Finding the right size skillet is preferable.
The truth is, not all cast iron skillets cook evenly. To avoid hot spots, try to use a pan that is the same size as your burner whenever possible.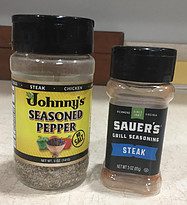
Rule #5 Season Your Steak Right Before Searing
When the skillet is hot and has reached its smoking point, then it’s time to season your steak with salt and pepper or whatever seasoning you want to use. Whatever else you season with, be sure to add lots of salt.
The reason you wait is that salt draws out the moisture, and your steak will be wet again. Adding salt right before you put your steak in the pan will solve that problem.
Rule #6 Use the Right Type and Amount of Oil After the Pan is Hot
After you have seasoned your steak, add the oil just before putting the meat in the pan.
What is the correct type of oil? The one with a high smoke point like avocado, safflower, or peanut oil. Using a brush, coat the entire surface of the pan with oil. You will need approximately 1 tsp. to 1 Tbsp., depending on the size of the pan. Some recommend using more oil, but too much will cause splattering.
Rule #7 Make Sure Your Meat Sizzles When Adding to the Pan
Hearing the steak sizzle when it touches the pan lets you know you are doing everything right.
Some smoke is fine, but you will definitely want to turn on the vent fan.
One other thing, don’t ever cover your steak as that will trap steam inside, and it won’t caramelize.
Rule #8 Sear Your Meat For the Right Amount of Time
When you first put the steak in, it will stick. As the surface of the meat caramelizes, it will release. Once it releases, it’s time to turn over your steak. So when you first put your steak in the pan, don’t move or turn it until it releases.
To know if it has released, use your tongs to grip the meat and see if it moves easily. If it does, it has released. If it doesn’t, leave it a little longer.
The right amount of time will depend on the thickness of the meat and how you like your steak. For a 1” steak that is medium rare, you will cook it for 3-4 minutes on each side, but if you prefer your steak medium, as I do, it will take a bit longer.
Having a meat thermometer will come in handy as you will be able to check your steak’s internal temperature. Or you can use the finger test: Once you have turned your steak over, and it has cooked a couple of minutes, touch your finger to the meat in a couple of places. If it pushes down and feels a bit squishy, it is medium-rare, and if it feels more firm, your steak is medium.
How to Know When Your Steak is Done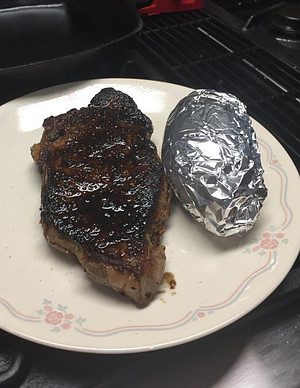
You can either use the finger test or a meat thermometer. If using a thermometer, you will know your steak is done when it reaches the following internal temperature:
- rare, very red inside and cool – 125°F/51°C
- medium-rare, red inside and warm – 135°F/57°C
- medium, pink inside and warm – 145°F/63°C
- medium-well, slightly pink inside and warm – 150°F/65°C
- Well, no pink inside – 160°F/71°C
Rule #9 Always Let Your Steak Rest After Searing
Before cutting into that steak, you will want to let it sit for 5-10 minutes to allow the juices to release and redistribute throughout the steak. If you cut into your meat too soon, the juices will run out onto the plate, and your steak will be dry. The goal is to have a juicy steak.
Store Leftovers for 3-4 Days in Refrigerator
Should you by chance have some steak leftover, you can put it in the refrigerator, but best if it’s eaten within 3-4 days, according to Healthline.
If I’m honest, I have not always followed this rule or any rule about how long leftovers will keep, but I wanted to give you a good health guideline. Ultimately, it is up to you to decide.
Reheating the Steak
Reheating, if done the right way, can still produce a great-tasting steak. There are several ways you can do this: in the oven, microwave, or stovetop.
Let’s Sear a Steak
Using the above tips, I attempted to sear my first steak for my husband. Here is how it went:
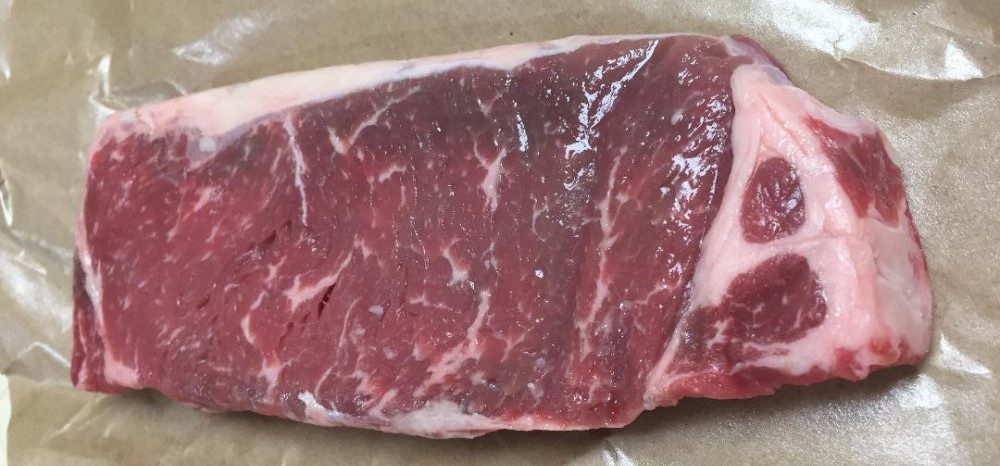
Preparation
- One hour before I cooked the steak, I took it out of the refrigerator. And I put a baked potato in the oven.
- After an hour, I started heating my skillet until I saw tiny wisps of smoke rising from the pan.
- While the pan was heating up, I patted the steak dry with a paper towel, and I took the potato out of the oven.
- When I saw wisps of smoke, I added approximately 2 tsp. of Avacado oil and spread it around with a silicone brush. I quickly seasoned the steak with Johnny’s Seasoned Pepper and Sauer’s steak seasoning (mainly salt), the way my husband requested.
Searing
- I put the steak in the skillet and heard it sizzle. I knew not to move or touch it. But I started noticing the smoke and remembered I needed to turn on the vent fan.
- At this point, my son-in-law walked into the kitchen and offered to help. He has seared many steaks, so I said absolutely!
- After approximately 3 minutes, my son-in-law showed me how to use tongs to see if the steak moved easily. Since it did, it was time to turn it over.
- A couple of minutes later, my son-in-law demonstrated the finger test. He knew I was going for medium-rare, so he said if the steak felt squishy, it was medium-rare; if it was firm, it was medium. It was still squishy. Yay!
- Next, my son-in-law told me to put the steak against the edge of the pan on its side. And to add a tablespoon of butter to the pan. I moved the butter around until it was melted and then spooned the butter over the steak for 15 or so seconds on each side.
- Now it was time to transfer the steak to a plate. It had turned out just the way I hoped it would, maybe even better because I didn’t know about the butter.
- While the steak was resting, I threw a bag of frozen vegetables in the microwave.
- My husband added butter and cheese to his potato, just the way he likes it. He would have put sour cream on if we had any.
I wanted to add him in a photo, but he said no thank you.
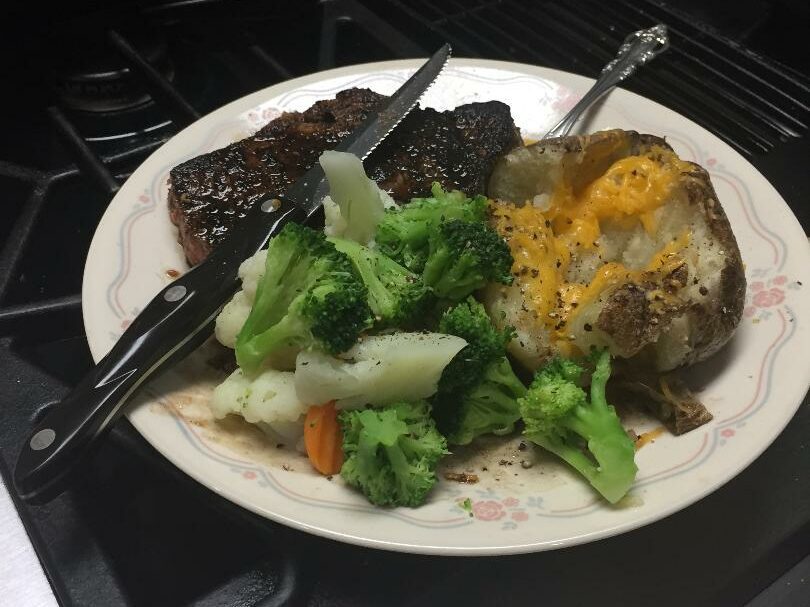
Searing a Second Steak
The following day (today), I seared a second steak for myself. I wanted mine to be fresh, and since I don’t generally eat a full supper, I wanted to wait until lunch the next day. I did everything the same except I used salt and pepper to season. It turned out just the way I like it – medium. All in all, searing steak was a good experience and one I will continue.
Clean-up is a Breeze
I was a little nervous that my pan would have burned-on steak juices, but it didn’t; either time! Once the pan cooled down somewhat, I wiped it out with a paper towel. Then I followed the cleaning process I always use. I rinsed the pan with warm water, used a brush and a dab of soap to clean the inside. After that, I dried the pan with my dedicated lint-free cloth, sprayed a little canola cooking spray, and wiped it around the whole pan before storing it.
Conclusion
I not only wanted to tell you about how to sear steak; I wanted to experience searing one as well. I’m so glad I did. I hope you learned something that you will use the next time you sear.
My son-in-law says the rules are universal and that everyone who sears meat knows these rules. But everyone had to have a beginning and find out what the rules were. If there was no one to tell or write them out for them, they probably Googled it. Maybe that’s what you did.
If you know any more rules or tips, please let me know in the comment section below. If you agree or disagree with anything I wrote, let me know. If you have a question, don’t hesitate to ask. I would also love to hear about your experience searing steak.
And if you would like to know more about the seasoned pepper I use, please check out my review on Johnny’s Seasoned Pepper.
